How to Crop Images in Photoshop
Cropping the unwanted parts out of a picture has become an almost integral part of editing a photograph. It is necessary to know how to crop images in photoshop since we may not always feel comfortable selecting a single frame with a particular person.
E.g. if you are a wedding photographer and your client does not want a particular person or object to spoil the beautiful wedding moment captured by you then your cropping skills will rescue you.
Simple Steps in Cropping Images in Photoshop
A definite number of steps should be followed in order to crop an image with the help of Photoshop.
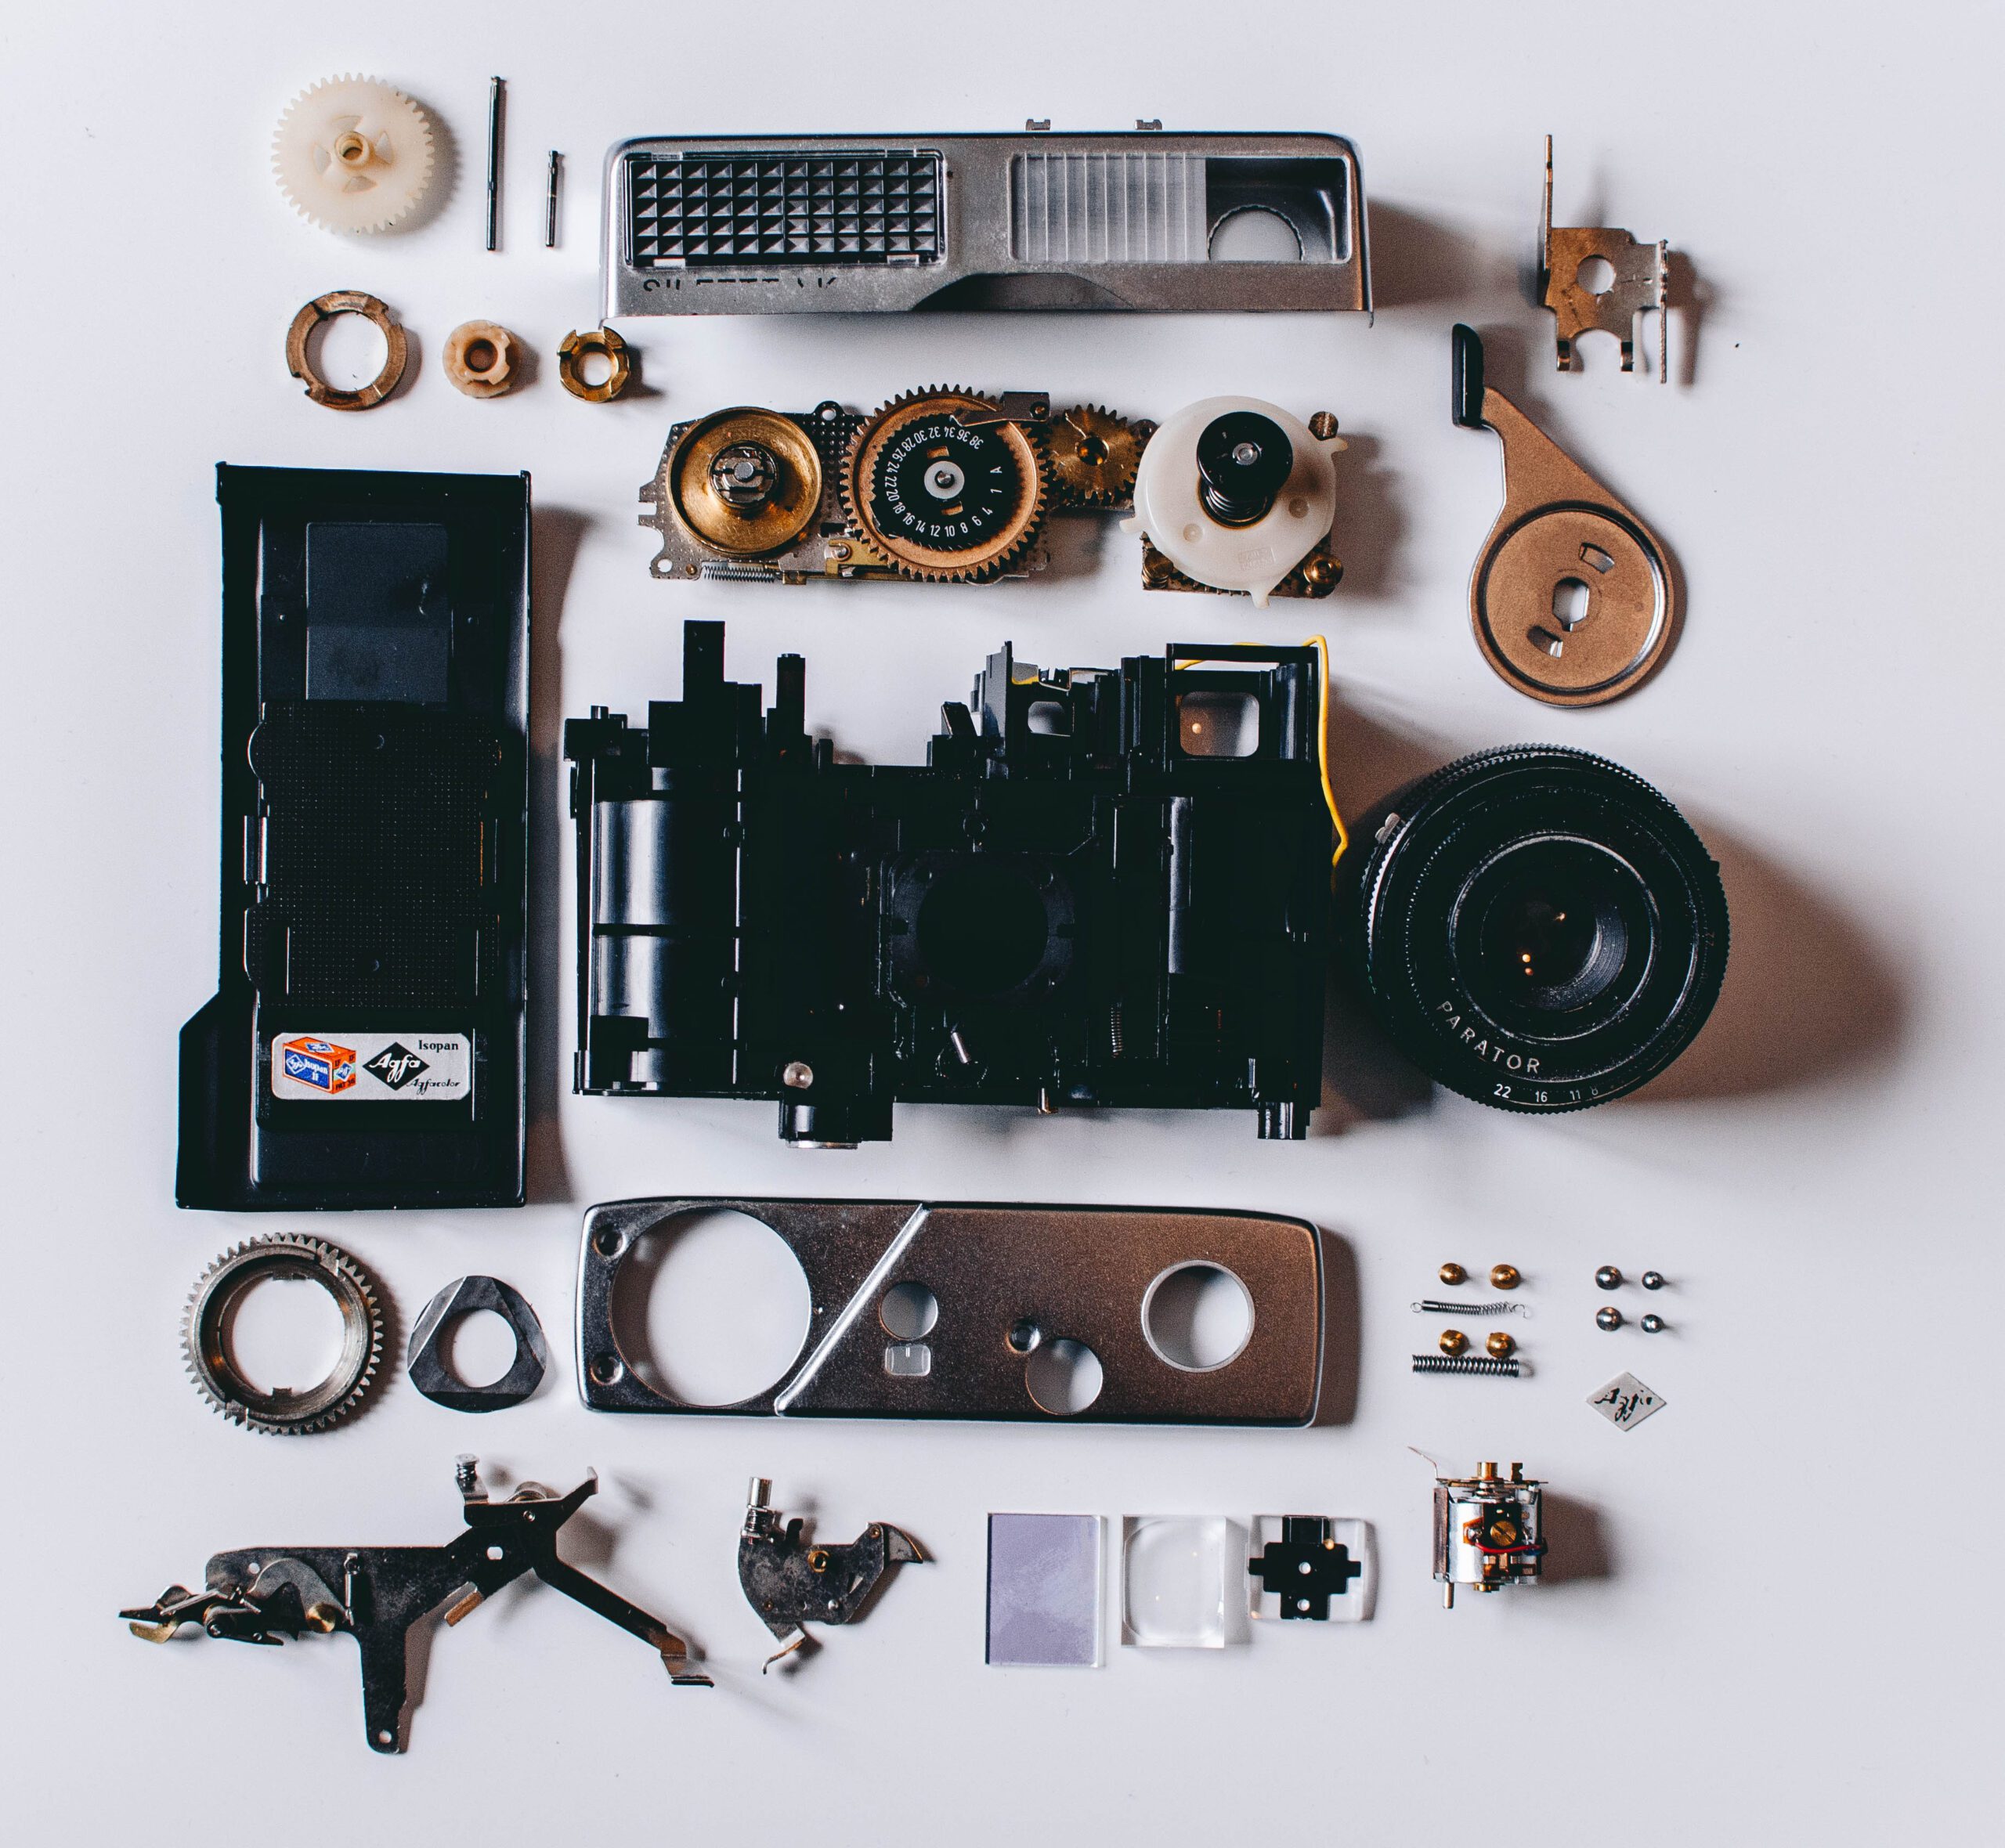
Prepare Your Image
The first step of cropping your picture with the help of Photoshop is to prepare the image.
You will have to open the image that you want to edit in Photoshop. You can open the image by clicking on the File menu, or you can also drag the image on the workspace of Photoshop.
You will have to click on the icon saying lock in order to use the image as a type of layer.
You will then have to hover in the area of that selected picture that you will like to focus on. You can do so by scrolling on the picture towards the area of general interest.
Then you will have to press the ALT key and move the scroll of your mouse to go forward to zoom in. To zoom out, you will have to go backward. Nonetheless, you can also select the zooming tool to use the zooming facility on the picture.
To crop an image in Photoshop, you can use the Crop tool, which looks like a square next to a curved line in the toolbar:
*Open the image you want to crop
*Select the Crop tool
*Drag a marquee over the area of the image you want to keep
*Adjust the handles to change the crop area
*Hold the Shift key to constrain the crop box to a specific aspect ratio
*Press Enter/Return or click the checkmark in the options bar to commit the crop
Prepare Your Outline
The next step is to select the outlines of the area you want to crop. It is similar to making a tracing with a pen and paper. Once you have made the outline on the picture you can simply drag away that part and replace it with something else.
All of these are little different from each other, but all of them will allow you to shape an outline.
In Photoshop, the regular lasso works similarly to using a pencil. Press the mouse button and drag it to trace your image perimeter. In the case of a polygonal lasso, you can click a point on an image and drag your way through to stop at the next end spot while marking out the area. Similar to the lasso tools, the magnetic lasso also draws an outline around a selection, but it is better at detecting edges within an image, so it produces more precise selections.
To crop an image in Photoshop, you can use the Crop tool to prepare an outline:
Open the image in Photoshop
Select the Crop tool from the toolbar or press C on your keyboard
Drag a marquee over the area you want to keep
Adjust the handles to change the crop area
Rotate the image left or right
Press Enter/Return or click the checkmark in the options bar to commit the crop
Cut the Marked Portion Out
After you have outlined the shape of the part that you no longer want in your image, you will have various options. In case you simply want to remove the entire selected portion then you will have to use the Delete button. You can also press backspace, and the marked part will get deleted.
This would make a blank portion visible where the cutout part was previously situated and would open up the layer that was behind the image.
To crop an image in Photoshop, you can use the Crop tool to frame the part of the image you want to keep by dragging the corner handles:
Select the Crop tool from the toolbar
Drag the corner handles to frame the image
Press Enter or Return on your keyboard or click the checkmark in the control bar to finalize your selection
- Create a shape to use as a clipping mask and place it below the image
- Right click on the top layer and select Create a Clipping Mask
- Select both the image and the shape by clicking the image while holding down Shift and clicking the shape
- Go to Object then Clipping Mask
Conclusion
The process of grasping the art of cropping items craftily is not very easy. At the beginning, it might be difficult to prepare a proper outline or to cut the desired portion. However, with time and practice, you will master the cropping methods.
Hope you got a profound idea reading this informative article on “How to Crop Images in Photoshop.“Do you know any other way to crop the images in photoshop? Do let me know by commenting below.
Also, if you are looking to outsource clipping path services, connect with us at clippingon24@gmail.com to get your free quote.